

People occasionally ask how I work, what I have in the lab, what equipment I use. This post tries to answer to ssome of those questions and serves as a reference when we’re discussing a project and I want to show you concretely what I have available.
The office/lab occupies a dedicated room in my home, configured to cover the full development cycle: from design and debug through physical prototyping and security testing.
Development workstation
The main workstation is split into two areas: software/firmware development on the right, hardware work and testing on the left.
You see a laptop on the desk: my mobile setup, the one that travels with me to clients or ends up on the treadmill when I need to move while I think.
On the right, the main desktop: Arch Linux, with Windows and Linux VMs on dedicated external SSDs — one per client, all encrypted. Keeping the disks physically separate isn’t paranoia (well, just a bit maybe): it’s basic operations when running parallel confidential projects under NDA. The case is RGB because, besides being my primary work machine, it’s also my gaming rig. I’ve been doing embedded engineering for 25 years, not taking vows, and real nerds play games.
On the shelf behind: four modified Prusa Mini+ FDM printers, used mainly for fixtures, enclosures, custom supports, and fast mechanical prototypes.
Instrumentation and soldering bench
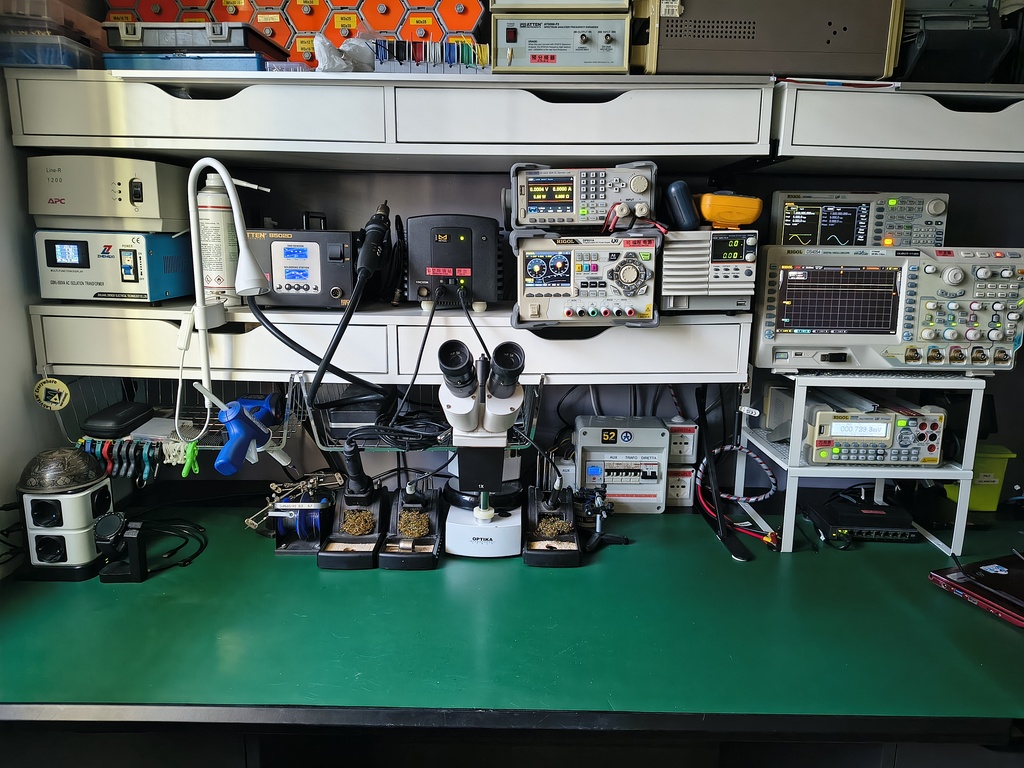
The main working bench. Left to right:
- Isolation transformer and stabilizer: first thing that gets switched on, always, when working on mains-powered circuits. Non-negotiable.
- Soldering station and hot air station: for SMD rework down to very fine packages.
- Programmable power supplies: voltage and current settable with precision, essential during bring-up and for simulating out-of-spec supply conditions.
- Stereo microscope: for visual inspection of solder joints, damaged components, lifted pads, and rework on fine-pitch parts (yes, my eyes are getting old).
- Digital oscilloscopes and generator: more than one, with different bandwidths and characteristics depending on the analysis domain. Always ready to take measurements.
- Bench multimeter and portable ones: precision DC measurements, continuity, component testing.
- ESD-safe mats: covers the entire benches surface. Grounding strap on, dissipative sandals on, always, before touching anything. All the lab is EPA. Also non-negotiable.
Testing and rapid prototyping area
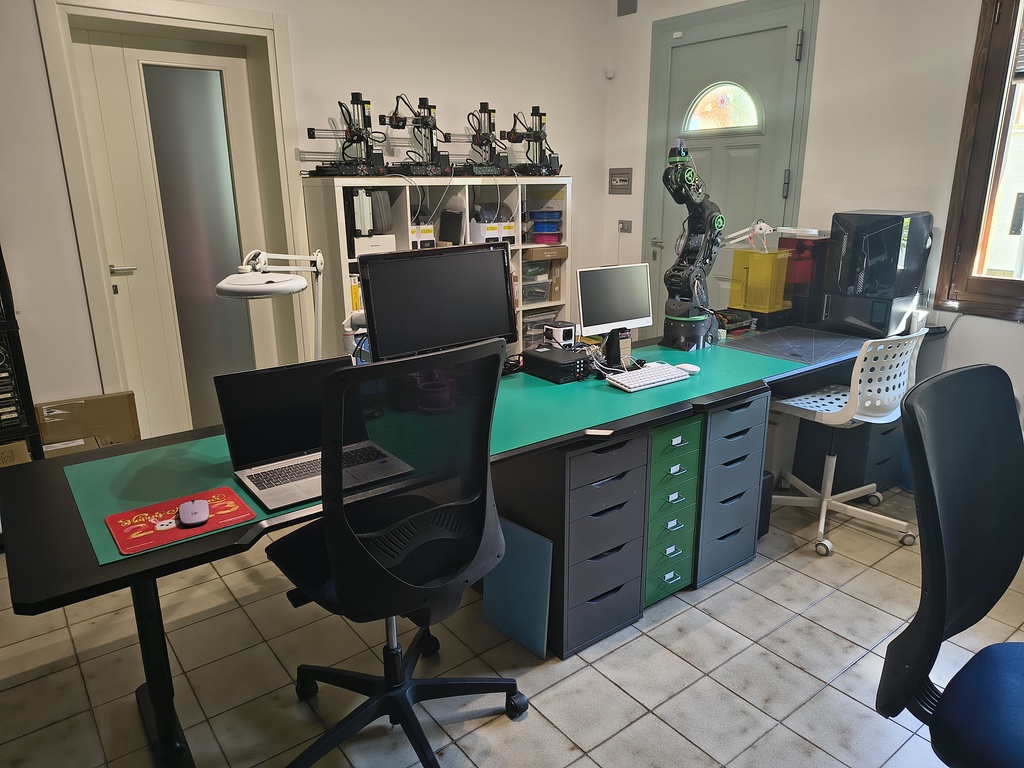
The most hybrid area of the lab: secondary measurement equipment, resin printers, and the assembly/test bench for physical prototypes.
On the shelf: books, manuals, plenty of evaluation boards and development kits, harnesses and custom-built fixtures. On top: fast FDM printers for prototype and small series production, suitable for technical and composite materials.
The two resin printers on the bench serve two distinct purposes: PCB photolithography at prototype scale, and fixture production: custom probes, mechanical adapters, jigs for test benches. When I need to test a prototype on a non-standard connector or require a probe with a specific geometry, I print it. Prototyping times are measured in hours, not weeks.
High-volume FDM printing
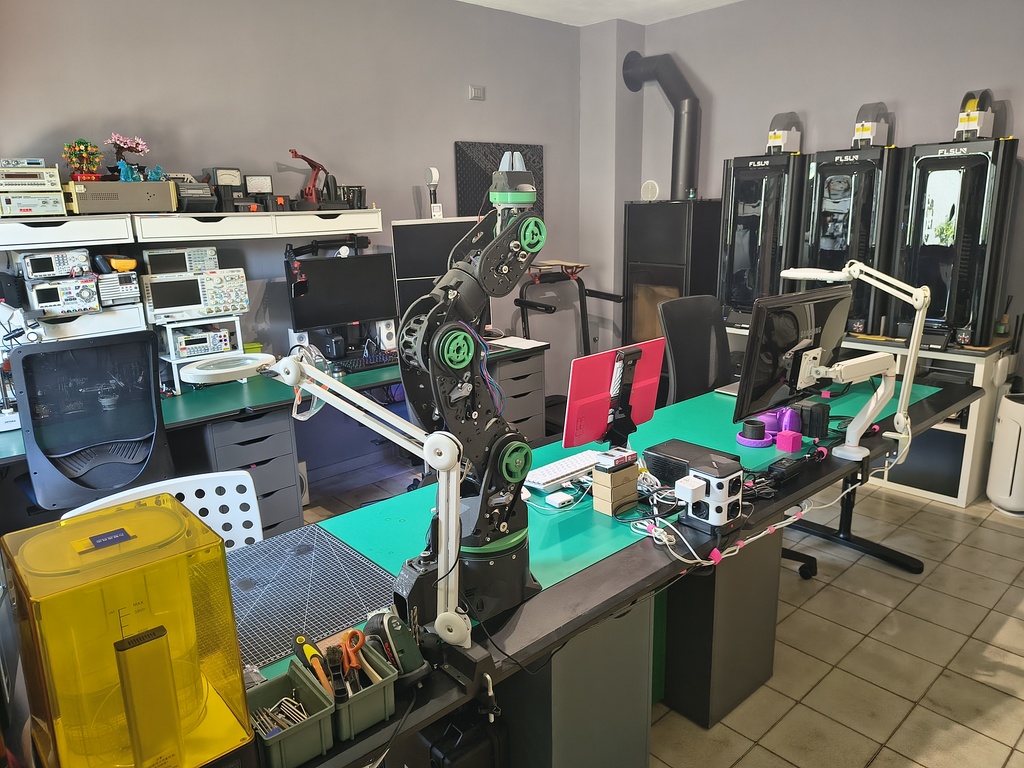
High-speed delta FDM printers, all modified from stock configuration. They handle volume when I need multiple parts in parallel or different materials running simultaneously. All are suitable for high temperature and composite materials printing.
On the corner, the treadmill: laptop on top, low speed, hours of walking while reading documentation or writing. Not a quirk: it’s the only way to avoid sitting for fourteen hours straight without incurring into health problems.
The black unit between the treadmill and the first printer is a wood stove. I live in a small mountain village in the Italian Alps, and I heat with wood. In winter, the lab stays warm, the carbon footprint stays honest, and the whole lab feels considerably less like a data centre and more like what it actually is: a craftsman’s workshop.
What it actually looks like during a project
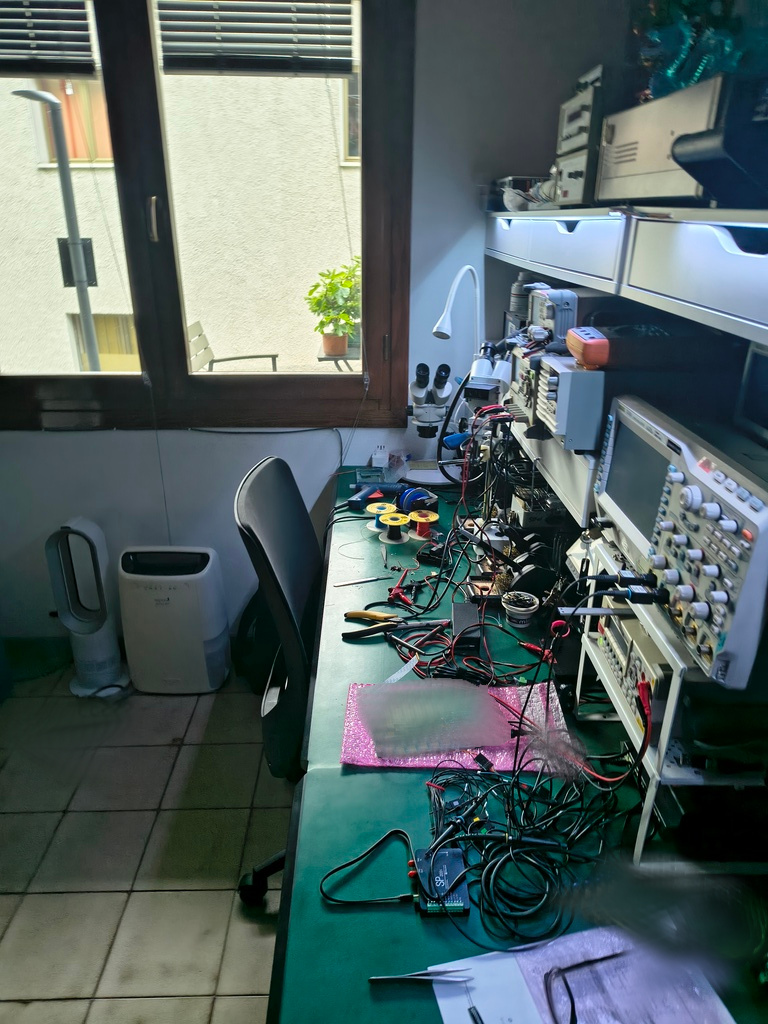
That’s how the instrumentation bench looks like most of the time. PCB on the antistatic mat, probes connected, cables everywhere, microscope aimed at the DUT. The tidy lab you see in the other photos is the idle state, this is the operational state.
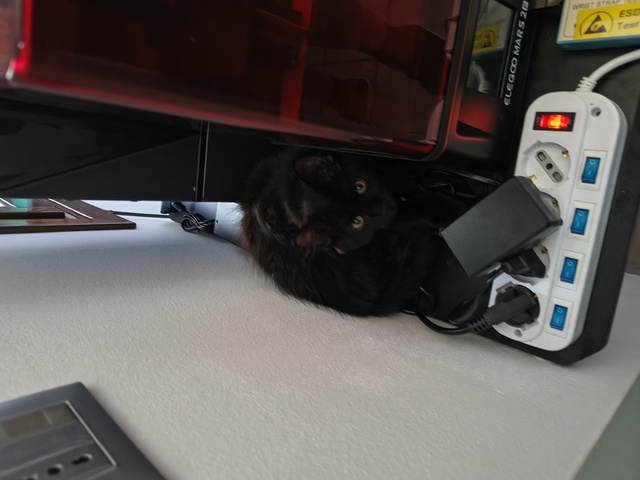
And this is the supervisor. Regularly inspects the wiring, verifies the thermal stability of components by sitting on them, and has very strong opinions about the tidiness of the work areas. Not officially on the payroll, but de facto responsible for work quality and mental state of the workforce.
If you’re evaluating a collaboration and want to know whether I have the specific equipment for your use case, get in touch.